Getting Started
Complete guide to setting up and using Yooz Whisper.
Installation
From Mac App Store
- Open the Mac App Store
- Search for "Yooz Whisper"
- Click Get / Install
- Wait for download to complete
- Find Yooz Whisper in Applications
Direct Download
Alternative: Download from our website:
- Visit yooz.live
- Download the latest version
- Open the .dmg file
- Drag Yooz Whisper to Applications
- Eject the disk image
First Launch
Opening the App
- Open Finder → Applications
- Double-click Yooz Whisper
- If prompted, click Open (first-time macOS security)
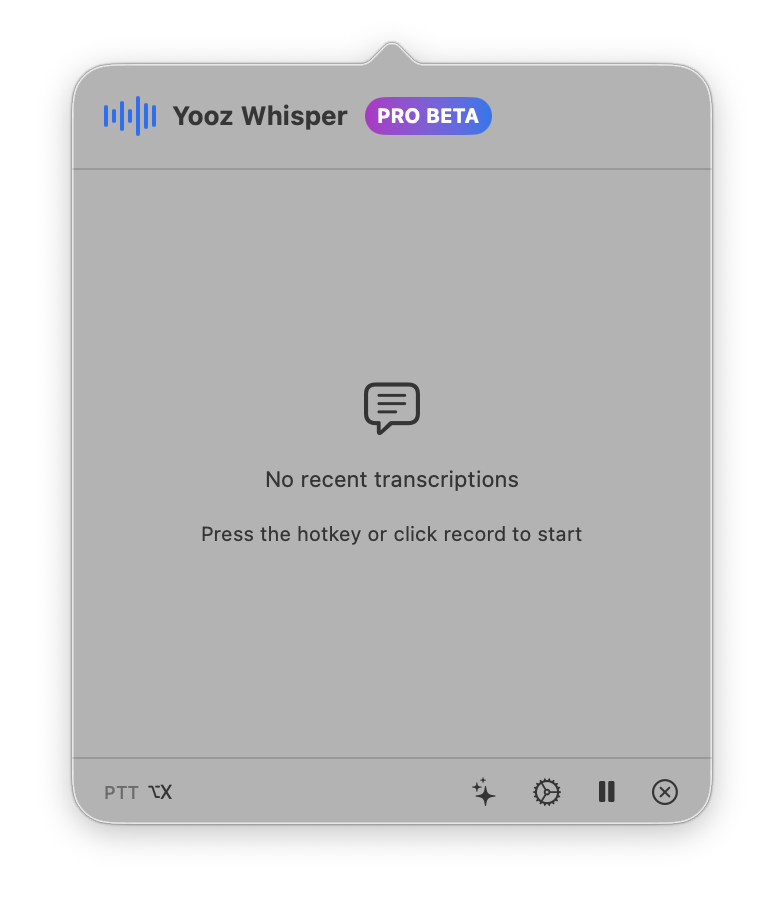
Menu Bar Icon
After launching:
- Look for the Whisper icon in your menu bar (top-right of screen)
- The icon indicates Whisper is running
- Click the icon to open the popover
Keeping in Menu Bar
Yooz Whisper runs as a menu bar app:
- No Dock icon (by design)
- Always accessible from menu bar
- Low resource usage when idle
Required Permissions
Microphone Access
Essential for voice input:
When prompted:
- Click OK to grant access
- Whisper can now hear you
If you missed the prompt:
- Open System Settings
- Go to Privacy & Security → Microphone
- Find Yooz Whisper
- Toggle ON
Microphone Required
Without microphone access, Yooz Whisper cannot function. Voice typing requires hearing your voice.
Accessibility Access (Recommended)
For direct text insertion:
To enable:
- Open System Settings
- Go to Privacy & Security → Accessibility
- Click the + button
- Select Yooz Whisper from Applications
- Click Open
Benefits:
- Text inserts directly at cursor
- No copy/paste step needed
- Seamless workflow
Without Accessibility:
- Text goes to clipboard only
- Paste manually with
Cmd + V - Still fully functional
Basic Usage
Recording Your First Transcription
- Click the Whisper menu bar icon
- Click the Record button (microphone)
- Speak clearly into your microphone
- Click Stop when finished
- Use the transcribed text
Output Modes
Clipboard (Default):
- Text is copied to clipboard
- Paste anywhere with
Cmd + V
Direct Insert (with Accessibility):
- Text types at cursor position
- No paste step needed
Workflow Example
Writing an email:
- Open your email app
- Click in the message body
- Click Whisper icon → Record
- Dictate your message
- Stop recording
- Text appears (or paste if using clipboard)
Setting Up Preferences
Opening Settings
- Click the Whisper menu bar icon
- Click the gear icon (settings)
- Settings window opens
Essential Settings
Language:
- Set your spoken language
- Match to what you'll be dictating
Keyboard Shortcut:
- Set a global shortcut
- Recommended:
Option + Space
Output Preferences:
- Trailing space, capitalization
- Customize as needed
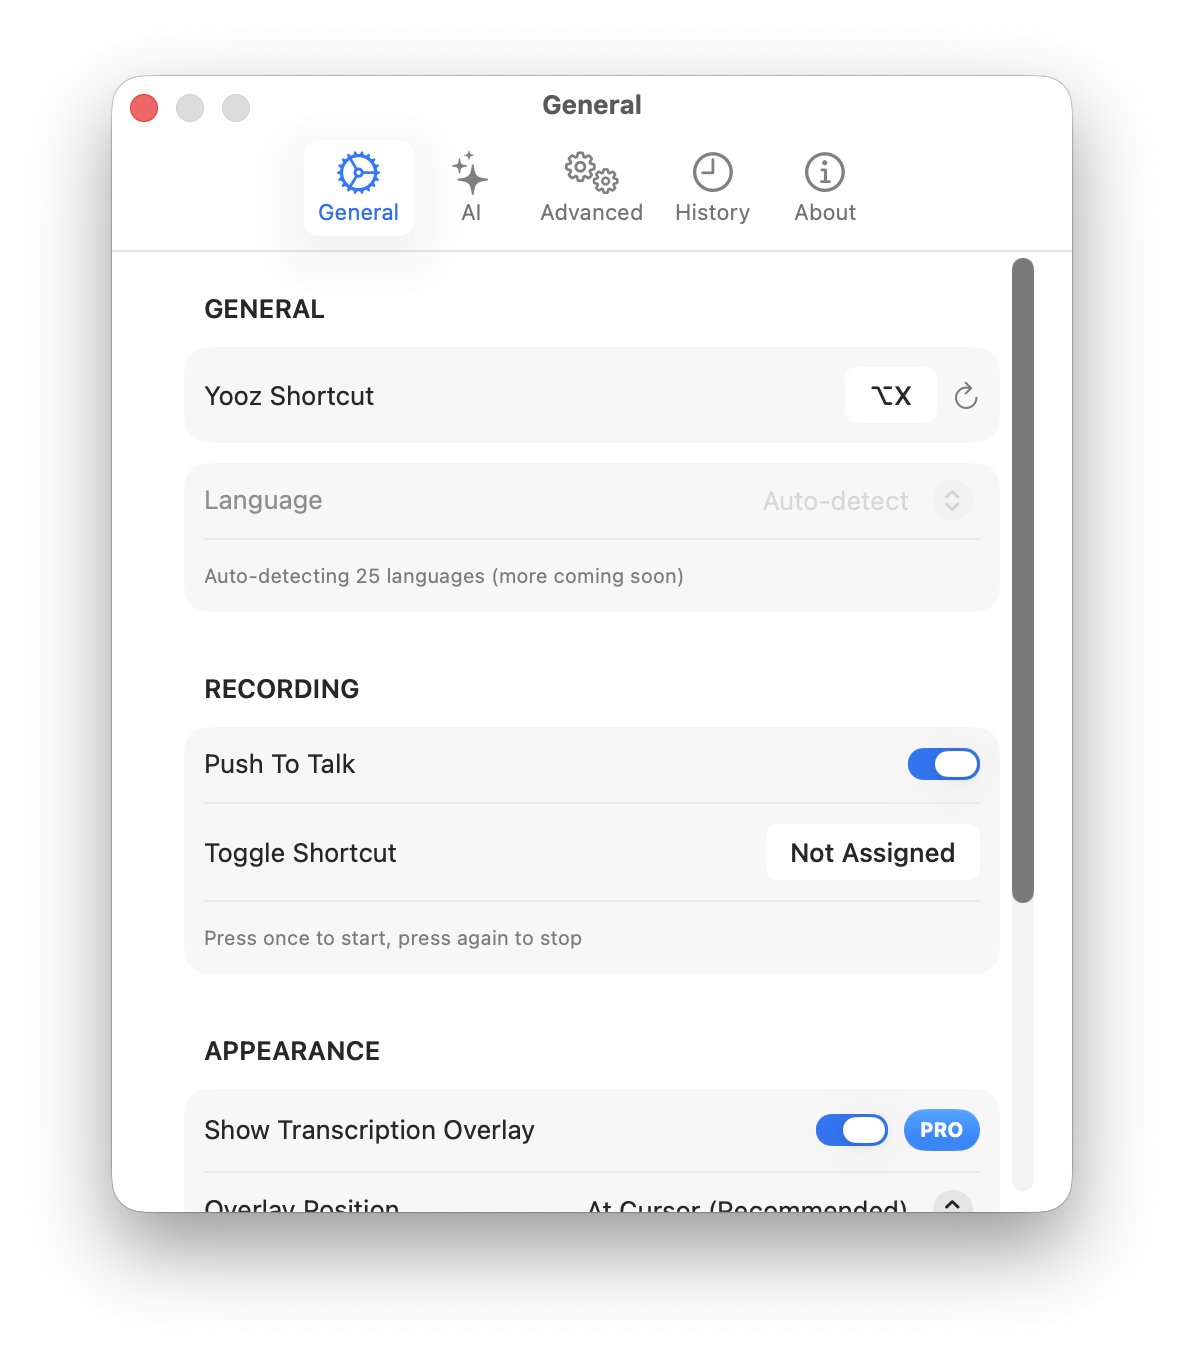
Keyboard Shortcut Setup
Setting a Shortcut
- Open Settings → General
- Find Keyboard Shortcut
- Click the shortcut field
- Press your desired keys
- Shortcut saves automatically
Using the Shortcut
- First press: Starts recording
- Second press: Stops recording
- Works globally: From any app
Recommended Shortcuts
| Shortcut | Reason |
|---|---|
Option + Space | Ergonomic, memorable |
Control + Option + W | Unique to Whisper |
Fn + F5 | Traditional dictation key |
AI Features Setup
Requirements Check
AI features need:
- macOS 15.0 (Sequoia) or later
- Apple Silicon Mac (M1 or later)
- Apple Intelligence enabled
Enabling Apple Intelligence
If not already enabled:
- Open System Settings
- Go to Apple Intelligence & Siri
- Toggle Apple Intelligence ON
- Wait for models to download (may take several minutes)
Enabling AI in Whisper
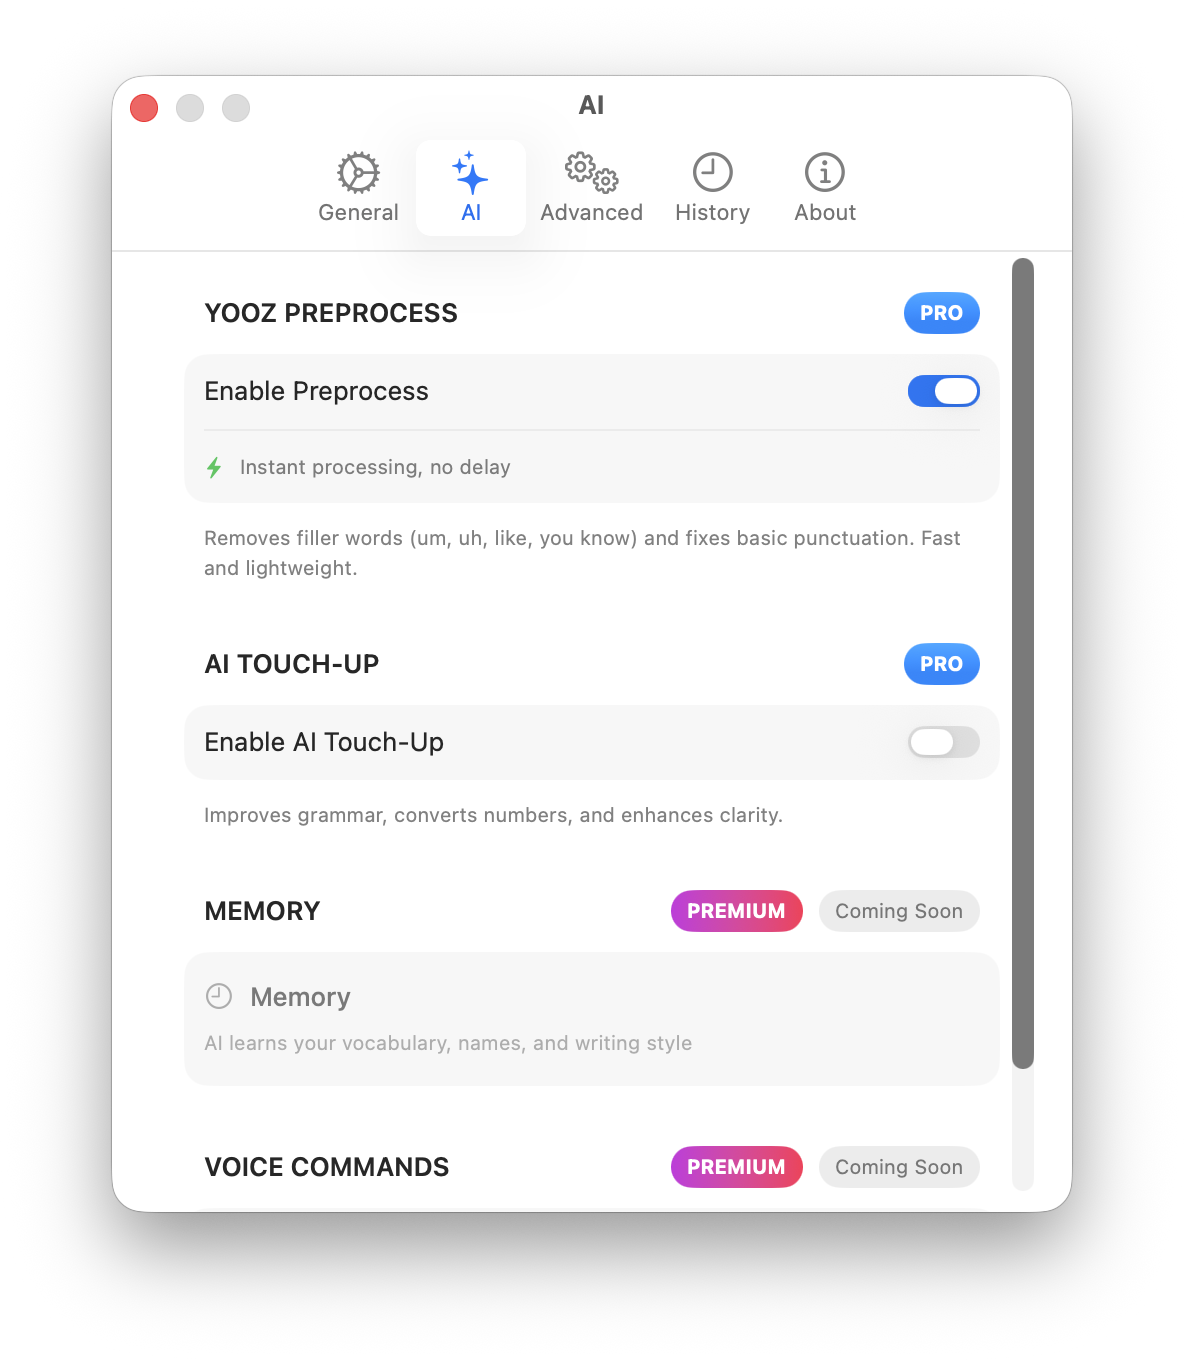
- Open Whisper Settings → AI
- Toggle YOOZ Preprocess for real-time enhancement
- Or use AI Touch-Up for post-transcription refinement
Optimizing for Your Environment
Microphone Selection
If you have multiple microphones:
- Open System Settings → Sound → Input
- Select your preferred microphone
- Whisper uses the system default
Best microphones:
- Built-in Mac microphone (good)
- Headset microphone (better)
- USB condenser microphone (best)
Background Noise
For best accuracy:
- Use in a quiet environment
- Close windows to reduce street noise
- Pause fans or loud equipment
- Consider noise-canceling headset
Speaking Tips
- Speak at normal pace
- Pronounce words clearly
- Pause briefly between sentences
- Say punctuation when needed ("period", "comma")
Troubleshooting First Setup
Whisper Not in Menu Bar
Solutions:
- Check if app is running (Activity Monitor)
- Quit and relaunch the app
- Check menu bar overflow (click
>>if visible) - Restart your Mac
Microphone Not Working
Solutions:
- Verify permission in System Settings
- Check microphone is selected in Sound settings
- Test microphone in another app
- Restart Yooz Whisper
No Text Output
Solutions:
- Ensure recording started (visual indicator)
- Check you spoke loud enough
- Verify correct language selected
- Test with simple phrase first
AI Features Unavailable
Solutions:
- Verify macOS 15.0+
- Confirm Apple Silicon Mac
- Enable Apple Intelligence in System Settings
- Wait for model download to complete
- Restart Whisper after enabling
Daily Workflow Tips
Morning Setup
- Launch Whisper (or set to auto-launch)
- Verify menu bar icon visible
- Test with quick recording
- Ready for the day
Auto-Launch on Login
To start Whisper automatically:
- Open System Settings → General → Login Items
- Click + under "Open at Login"
- Select Yooz Whisper
- App will start on every login
Best Practices
- Keep Whisper running - Low resource usage
- Use keyboard shortcut - Faster than clicking
- Enable AI - Better output quality
- Review important text - AI assists, doesn't replace proofreading
Next Steps
Now that you're set up:
- Voice Typing - Master all features
- AI Features - Enhance your transcriptions
- Settings Reference - Customize everything
- Privacy - Understand our privacy approach